
Perfect for Summer .... Rice Krispies Ice Cream Cake
Sign in to save recipes, rate them, and track what you've cooked.
My definition of food perfect for summer is that which is cooling on a hot day and it also requires minimum time in the heat of the kitchen. And this cake, which came about as a request from my children was just the perfect thing. It requires minimum cooking and most of the time taken from assembling to serving this is the time it rests in your freezer while you can chill in the comfort of your air conditioner. The only cooking required to make this is the melting of chocolate chips. The buttercream on top is optional. You can just as easily top it with whipping cream or cool whip.
I have been using rice Krispies to make marshmallow treats for a while now. Recently I've been looking at different ways of using it and when the kids suggested we could use the rice Krispies with ice cream, it struck a chord. I did a bit of research online and found this recipe which seemed worth a try. The idea of coating rice Krispies with melted chocolate was fantastic. It made them sweet and crunchy and allowed them to be molded easily into a crust for the ice cream. I did use sufficient chips to coat the bottom, sides and top of the pan. If you want, you can easily cut the quantity by half and only use the Krispies to make the bottom and halfway to the sides of the pan.
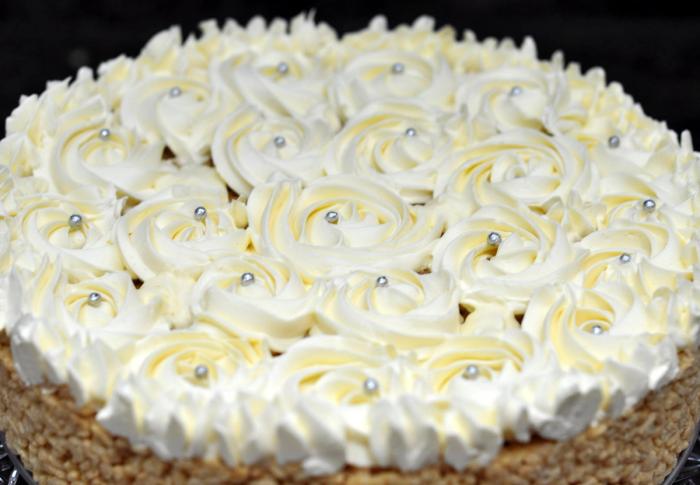
For the ice cream, I chose Hokey-Pokey which is a favorite with my kids. Also, for the coating, I used a mixture of white chocolate chips and butterscotch chips. The butterscotch chips add an excellent caramel flavor and complements the honeycomb in the hokey pokey ice cream very well. I used a Swiss meringue buttercream to decorate the cake. I was able to pipe lovely roses on the cake and the melt in your mouth buttercream provided a nice contrast to the crust of the cake and the cold ice cream inside.
Rice Krispies Ice Cream Cake
Ingredients
- 6 cups Rice Krispies
- 6 oz white chocolate chips
- 3 oz butterscotch chips
- 1 liter ice cream (any flavor of your choice - I chose Hokey Pokey)
Instructions
- 1
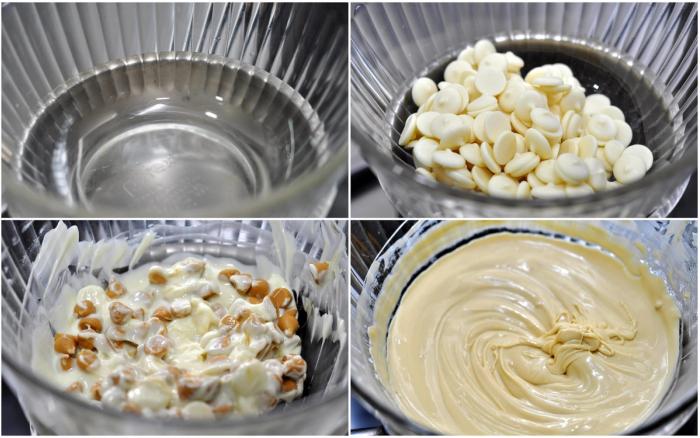
Set up a double boiler over a pan of barely simmering water. Place a glass bowl on top and put the white and butterscotch chips in it. Continue to stir gently till they are melted.
- 2
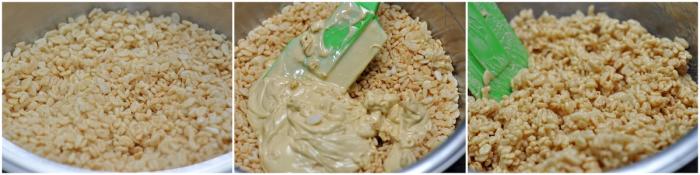
Remove from the fire and add the rice krispies. Mix well to coat the rice kripies completely with the melted chocolate.
- 3
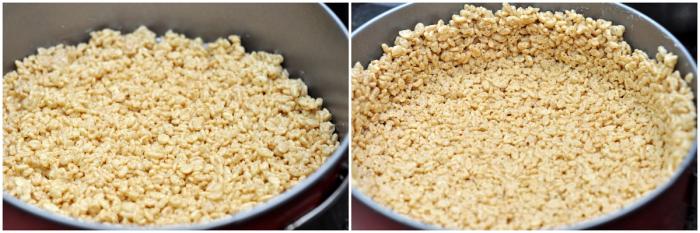
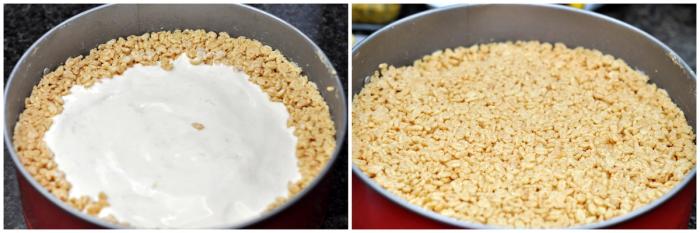
Immediately after coating the krispies with chocolate, place 2/3 of the krispies them in a springform pan and press against the bottom and sides of the pan evenly using the back of a measuring cup.
- 4
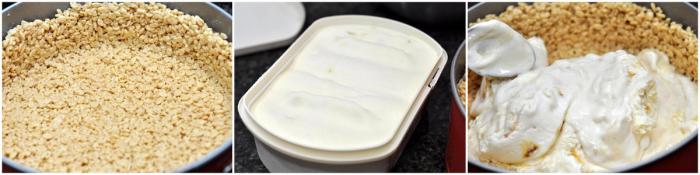
Once the krispies have set firmly in the pan, spoon the ice cream into the pan to cover the krsipies completely.
- 5
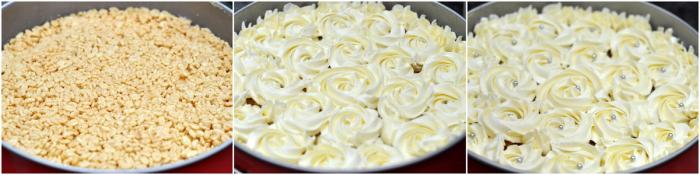
Top with the remaining krispies and press them nicely on the top of the ice cream to make the top layer of the cake. Cover with plastic wrap and place in freezer , preferably overnight.
- 6
Prepare the swiss meringue buttercream and use it to pipe roses on the cake. Place the cake back in the freezer.
- 7
Remove the cake from the freezer 5-10 minutes before cutting. Dip a knife in hot water and wipe it clean with a cloth. Use this to slice the cake into individual pieces and serve.
Swiss Meringue Buttercream
Ingredients
- 1 cup sugar
- 4 egg whites
- 3 sticks unsalted butter (cut into cubes and chilled well to survive the hot Singapore weather)
- 1 tsp vanilla extract
Instructions
- 1
Whisk egg whites and sugar together in a big metal bowl over a pot of simmering water. Whisk occasionally until you can’t feel the sugar granules when you rub the mixture between your fingers.
- 2
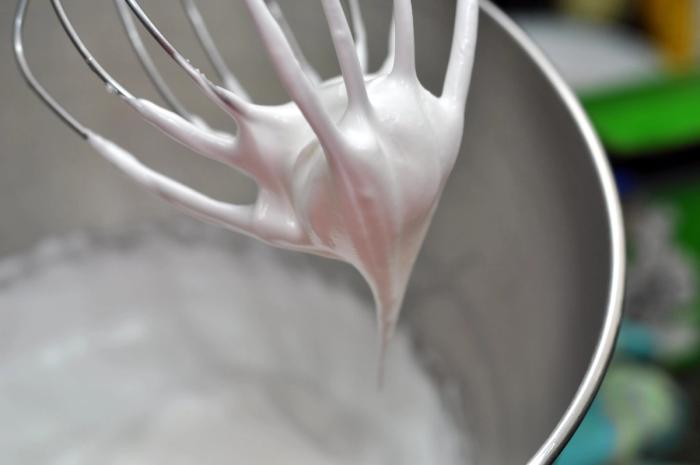
Transfer mixture into the mixer and whip until it turns white and about doubles in size.
- 3
Add the vanilla extract to the egg white mixture and mix well.
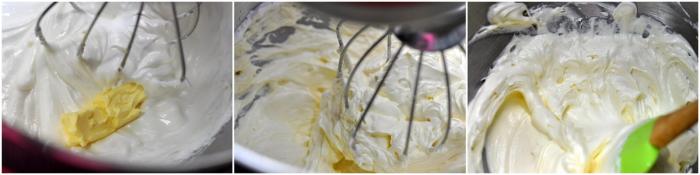
- 4
Add the chilled butter, one cube at a time and continue to whip till the buttercream becomes a smooth fluffy mixture. Keep the buttercream in a cool place till it is ready to be used. It can be prepared ahead time and whipped right before use.
Photo Gallery
Reviews
Sign in to rate this recipe.
No reviews yet — be the first!